
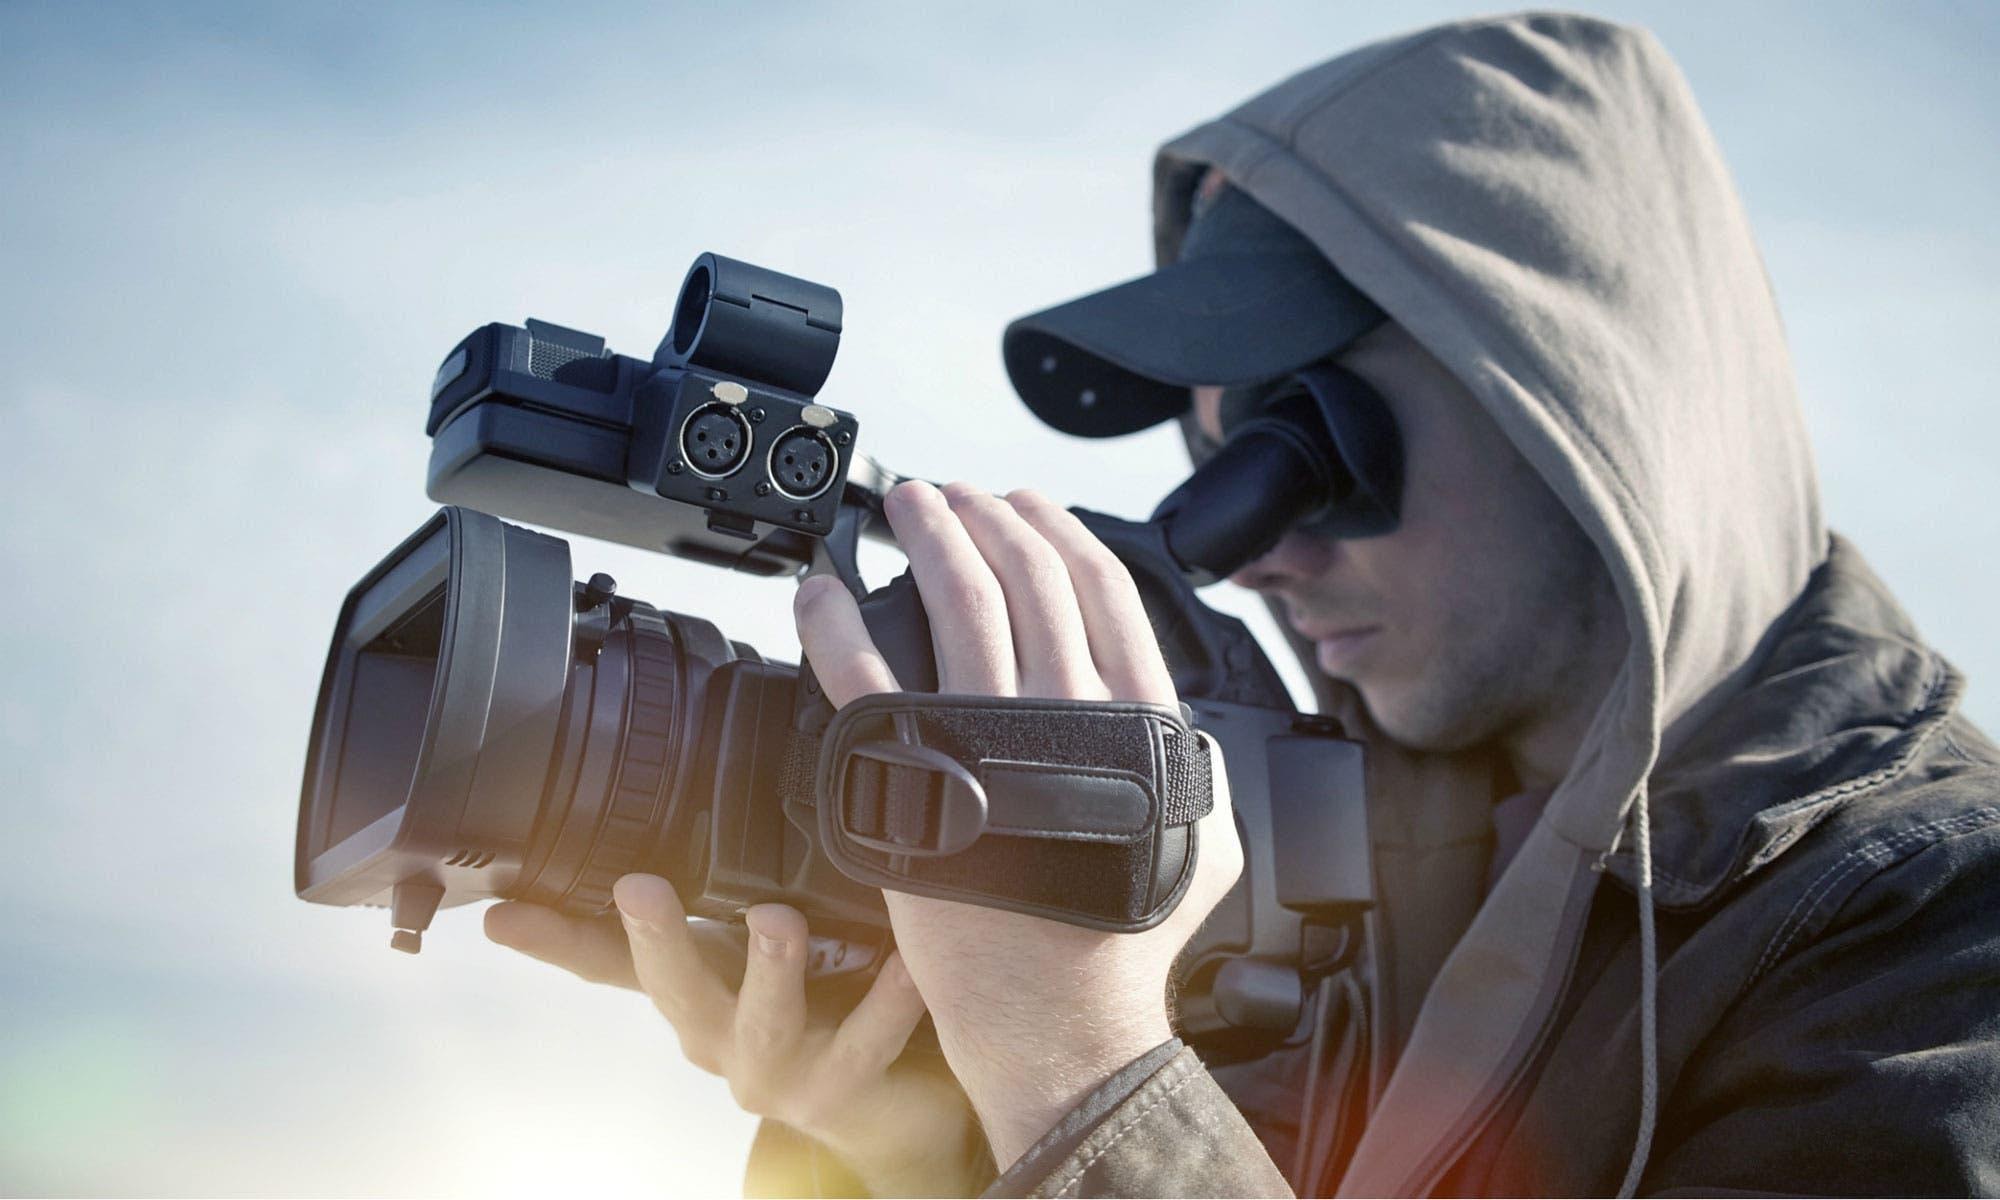
It has never been easier to shoot videos than today. Modern technologies enable average users to translate the boldest of their ideas into eye-catching videos and share it with the world. Smartphones equipped with powerful cameras are a one-in-all tool you can use to produce a cinematic masterpiece in the blink of an eye. Modern bloggers, YouTubers, entrepreneurs, and ordinary people have tapped into the power of out-of-the box solutions like online editors and video makers that allows processing your camera output and transforming your raw footage into exciting projects. That being said, video making equipment isn’t all you require for creating a thumb-stopping video. Below are some simple yet recommendations you might want to follow to start producing stunning video projects.
Keep It Horizontal
Despite the growing popularity of short vertical videos, shooting horizontally is still the most preferred and viewer-friendly method of capturing your videos. When filming horizontally, you create a wider, more vivid perspective and let you viewers plunge into the atmosphere of your video. Also, refrain from switching from vertical to horizontal, as you would when capturing still images. This will give away your unprofessionalism and likely put off your audience, which is the last thing a beginner videographer needs.
Use a Tripod
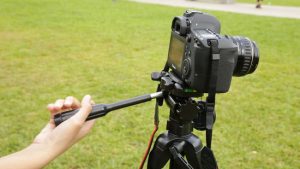
It’s hard to overstate the importance of a tripod for the quality of your videos. This piece of filming equipment has long ceased to be a professional instrument used by seasoned videographers only. So, if you want to create spectacular videos, you should definitely put your hands on this useful tool. A tripod is the best option for stabilizing your footage and making your video shoot a breeze. Of course, there might be moments where you would want to intentionally create a shaking effect. Still, in other situations, that shaky camera can ruin the atmosphere of your video. So, be sure to avail yourself of a reliable tripod. Should you need to shoot stable moving shoots, craft yourself a wheeled platform fitted with a camera. This rig is called a dolly and can go a long way in helping you produce effective moving shots.
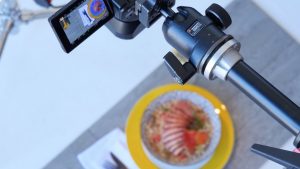
When shooting using a tripod, don’t zoom in on every object you find interesting or important. Be sure to present a big picture first and let your viewers see the details. For this, you want to set your camera up and film the entire scene from a single angle. And then, if need be, pan in on a certain subject.
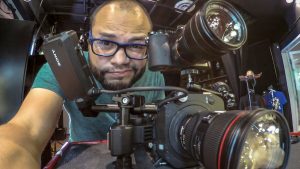
Set Up Shots
Before you dive straight into the filming process, make sure you’ve given your subject matter enough headspace. Very often, beginner videographers fail to properly set their shots and end up literally squeezing into the filming space or simply cutting off people’s heads. Not to fall into a similar pitfall, frame your shots with enough space. It is a good rule of thumb to spare space between the top of your subject and the top of the frame.
Furthermore, you should note that unlike shooting still shots, where you can quickly change your shutter speed or apertures once you’re done shooting, shooting videos imposes certain limitations on you. When shooting your videos, you won’t be able to switch between those, which may result in unsmooth transitions between frames. With this in mind, you’ll want to tweak the proper settings before you start shooting. It is also important that you stick to these settings throughout the entire filming process to ensure the best quality of the resulting footage.
Editing

As we’ve noted at the beginning of the article, cutting-edge software enables you to edit your footage like a pro. You just need to acquire the necessary skills and choose the right tools. With modern video editing solutions you can add visual effects, fun memes, and much more to your video and make it look more appealing to your audience. You can also improve its quality by removing unwanted elements or background with the help of online background remover or a similar editing tool. And there are more, much more things you can do if you harness the potential of video editing software and applications.
- Useful piece of advice! Don’t rush to edit your footage as soon as you shoot it. Let it sit in your smartphone for a couple of hours, or even better, for a day or two. Then, you can get down to editing it.
It also would be wise to film more footage that you might think is necessary. Always allow for contingencies that may come in the form of poorly framed shoot, missing frames, etc. You may also want to try different types of shots, experiment with camera shots and angles, and switch gears when filming for the best effect possible.


