
Downloading large files comes with a lot of risks, especially when you have an unreliable internet connection. While there are ways to ensure that your downloads are safe from interruptions (i.e., keeping your laptop or desktop computer on for long periods of time), they still do not address your problems with download speed.
Large files can take too long to download. In many cases, it takes overnight. This means that you will have to stay up to monitor the progress and ensure that, as slow as it may be, the download progress will not get interrupted.
Just thinking about all the steps and preventive measures that you have to do is already taxing in itself. Fortunately, this problem is not without a solution.
The Raspberry Pi can be trusted with your downloads as it is always online. If you are not familiar with the Raspberry Pi, it is basically a small credit card-sized computer that is capable of a variety of things. From streaming, gaming, coding, and now to also ensuring that your downloads will remain uninterrupted.
This article will teach you everything you need to know to enjoy downloading files with Raspberry Pi.
1. Prepare the needed hardware
Here is a list that can help you gather and cross out what you already have:
- Raspberry Pi
- Raspberry Pi Power Supply
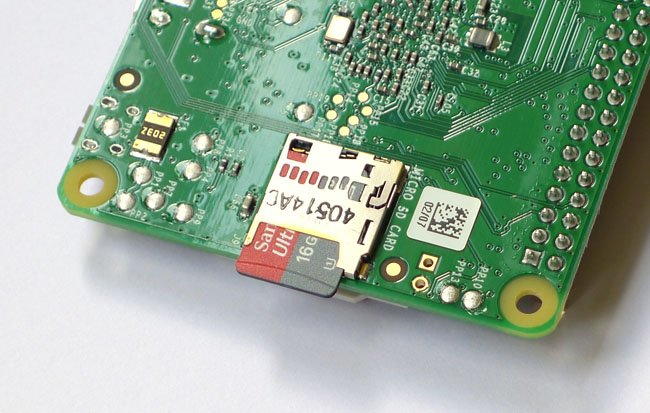
- Micro SD Card for Raspberry Pi (>= 16 GB)
- USB Micro SD Card Reader
- Network Cable for Raspberry Pi or WLAN adapter
- USB drive or external hard disc to save big download files (opt.)
2. Prepare the software
Once you already have all the hardware needed, it is time to set up your software. We will mostly be using DietPi to set up our Raspberry Pi but you will also have to download the following:
- DietPi – DietPi – Lightweight justice for your SBC! (choose your device from the list)
- Etcher – balenaEtcher – Flash OS images to SD cards & USB drives
- Putty – Download PuTTY: latest release (0.74)
3. Setup DietPi
![]()
The DietPi is Raspberry Pi’s operating system, thus, is important. Before we proceed with setting up DietPi, make sure first that it is properly installed.
You can view the instructions on how to install DietPi here:
Follow steps 1 to 3.
After that, Raspberry Pi should be operating now using the DietPi system when you start it. The next step is to connect Raspberry Pi directly to a keyboard or screen so you can start using it. Another option would be to connect it via SSH. To do this, just scan your IP address using the Advanced IP scanner software.
4. Connecting Raspberry Pi via SSH
Not everyone would want or would have an extra keyboard and screen that can be used to connect the Raspberry Pi. So if you are going to use your own personal computer, you can establish a connection via Putty. Once you have the Putty running, follow these steps:
- Enter here the IP address of your Raspberry Pi on the “Host Name” bar
- Put 22 on the box that says “Port” for SSH
- Select SSH for the Connection type
- Enter the login credentials when the login screen pops up
USERNAME: root
PASSWORD: dietpi
- Wait for the update to finish
- When another pop-up window appears on your screen, choose an option that best suits you. After which, just confirm the next steps until you reach the very last pop-up window.
5. Install the Download Manager Tool
After all the steps above, your Raspberry Pi is now properly installed and ready to be used. It is now time to move on to the installation and set up our download manager which is the Aria 2.
- To start, once again using Putty, look for the category “Software Optimised” and select “Aria2” from the list that will appear.
- Click “Install” and wait for the download and installation process to finish.
Now, the installation may be done but there are still a few things we need to do to properly configure Aria2.
- After the installation, download more files from this link: BitTorrent & Download Tools
- Open the Aria2 web interface here: http://<IP address of your Raspberry Pi>/aria2/docs
- Click “Settings” and then select “Connection Settings” from the dropdown menu.
- Enter your DietPi password on the “Enter the secret token” tab that is located at the bottom part of the window.
- After this, you can now start your downloads.
6. Download
On the tabs located on the upper part of your Aria2 window, you can see the dropdown menu for “Add.” There are three options there, but select the very first one which is the “By URLs.” Selecting this will allow you to download using links only. The best part is you can download multiple files by adding in multiple links.
There will be a blank box where you can paste all your URLs for downloading. Once you are satisfied, you can simply click “Start” below the box.
Making Changes Permanent
One of the issues you may encounter is that your settings can be reset the next time you intend to use Aria2. This is because you restarted your Raspberry Pi which is an unavoidable step. However, there is a way to keep the changes permanent. You simply have to add the changes to your Aria2’s configuration file.
To do this, open Putty and enter this command: systemctl stop aria2. The purpose of this is to stop Aria2’s operations temporarily. Once that is done, you can enter this command on Putty next: root@DietPi:~# nano/mnt/dietpi_userdata/aria2/aria2.conf
You will once again see a list of texts on the window. Search for #RPC and see if the settings are correct. For any changes made, you can click STRG + X to confirm the changes you applied. After that, you can run Aria2 again by putting this command: systemctl start aria2
With this, all changes are permanently saved! You would not have to worry about configuring and setting up Aria2 every time you restart Raspberry Pi.
Managing Downloaded Files

So where will our files go after being downloaded? Just like every download manager, there is already a predestined downloads folder for Aria2. The question is whether you can access them from your local system. Do not worry because there are two ways to make this work:
- Install a file server like FileZilla that will allow your downloads to be accessible to any system that is connected to your local network.
- Use an external hard disc or USB where you can save your downloaded files then just copy them to your personal computer.
If you are going to use a file server, while we gave FileZilla as an example, it is still best to get one that works best for you. Luckily, here’s a ready list you can choose from: File Servers
On the other hand, if you plan to save files on your portable hard drive or USB, you will have to format them with NTFS or FAT32 so you can still use them with your windows system later on. To do this, follow these steps:
- Connect your USB drive to your Raspberry Pi
- Start DietPi launcher by entering root@DietPi:~#dietpi-launcher
- When a window appears, select “DietPi-Drive_Manager” from the list
- You will see two options afterward: sda and sdb. The first one stands for your SD card while sdb stands for your USB.
- Mount your sdb device by selecting sdb and clicking “Mount”
- Choose a mount point. Either you can stick with the system’s recommendation or you can choose your own path that is easier to remember. Just make sure that the path you will choose does not have any other devices connected to it.
- Once your USB is mounted, you can open Aria2 and put in the path you selected on the “dir” bar.
- Click “Save Settings.
Voila! You are done! After following all the steps above, you can now fully enjoy uninterrupted and efficient downloads with your Raspberry Pi.
Check out the full comprehensive tutorial of using Raspberry Pi as a download manager or visit Train Your Skills for more tips and tricks on how to optimize your Raspberry Pi and other technology tutorials.


